
Prerequisites & Requirements
- Ethernet cable running from printer to your network router or switch.
- Printer powered on with green LAN status light.
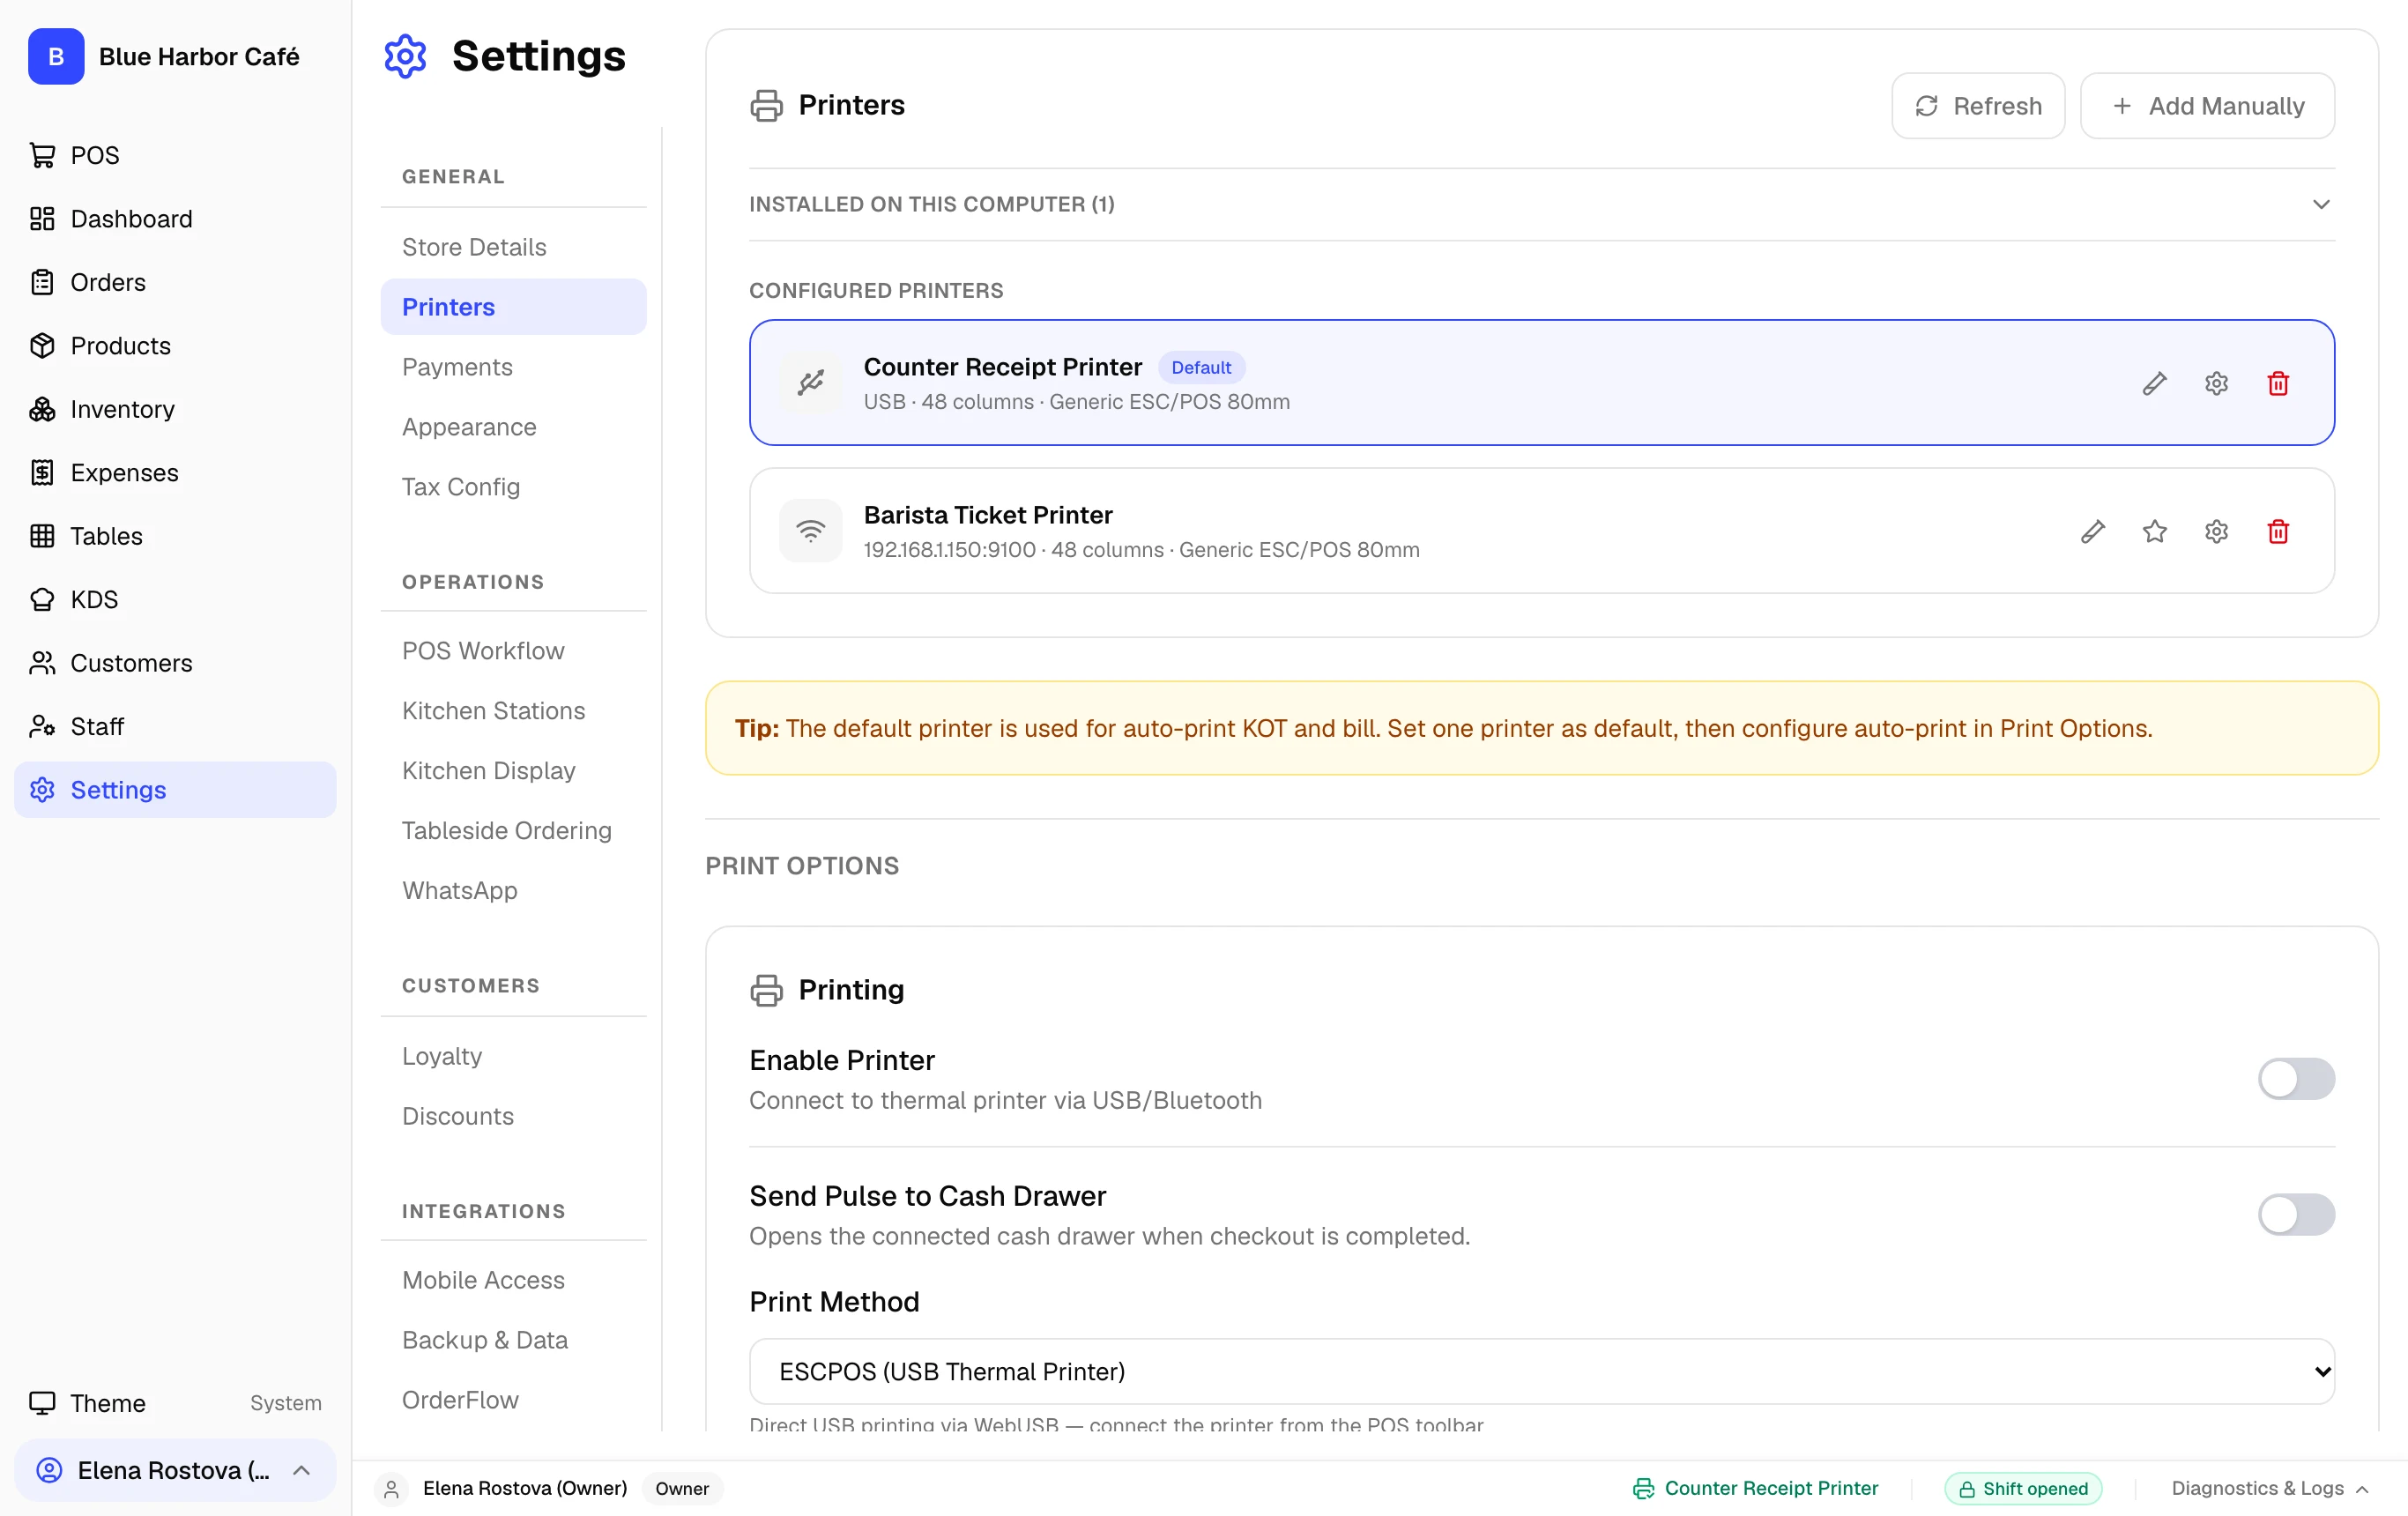
Kitchen printers located far from the main counter connect over Ethernet. FloCafe connects directly to port 9100 (RAW TCP) to print kitchen tickets.
Architecture & Workflow Diagram

Step-by-Step Walkthrough
Follow these instructions in sequence to complete the setup:
1
Find the Printer IP Address
Turn off the printer. Hold down the FEED button and turn the power on. Keep holding FEED until the self-test prints. The IP address (e.g.
192.168.1.150) will be printed. 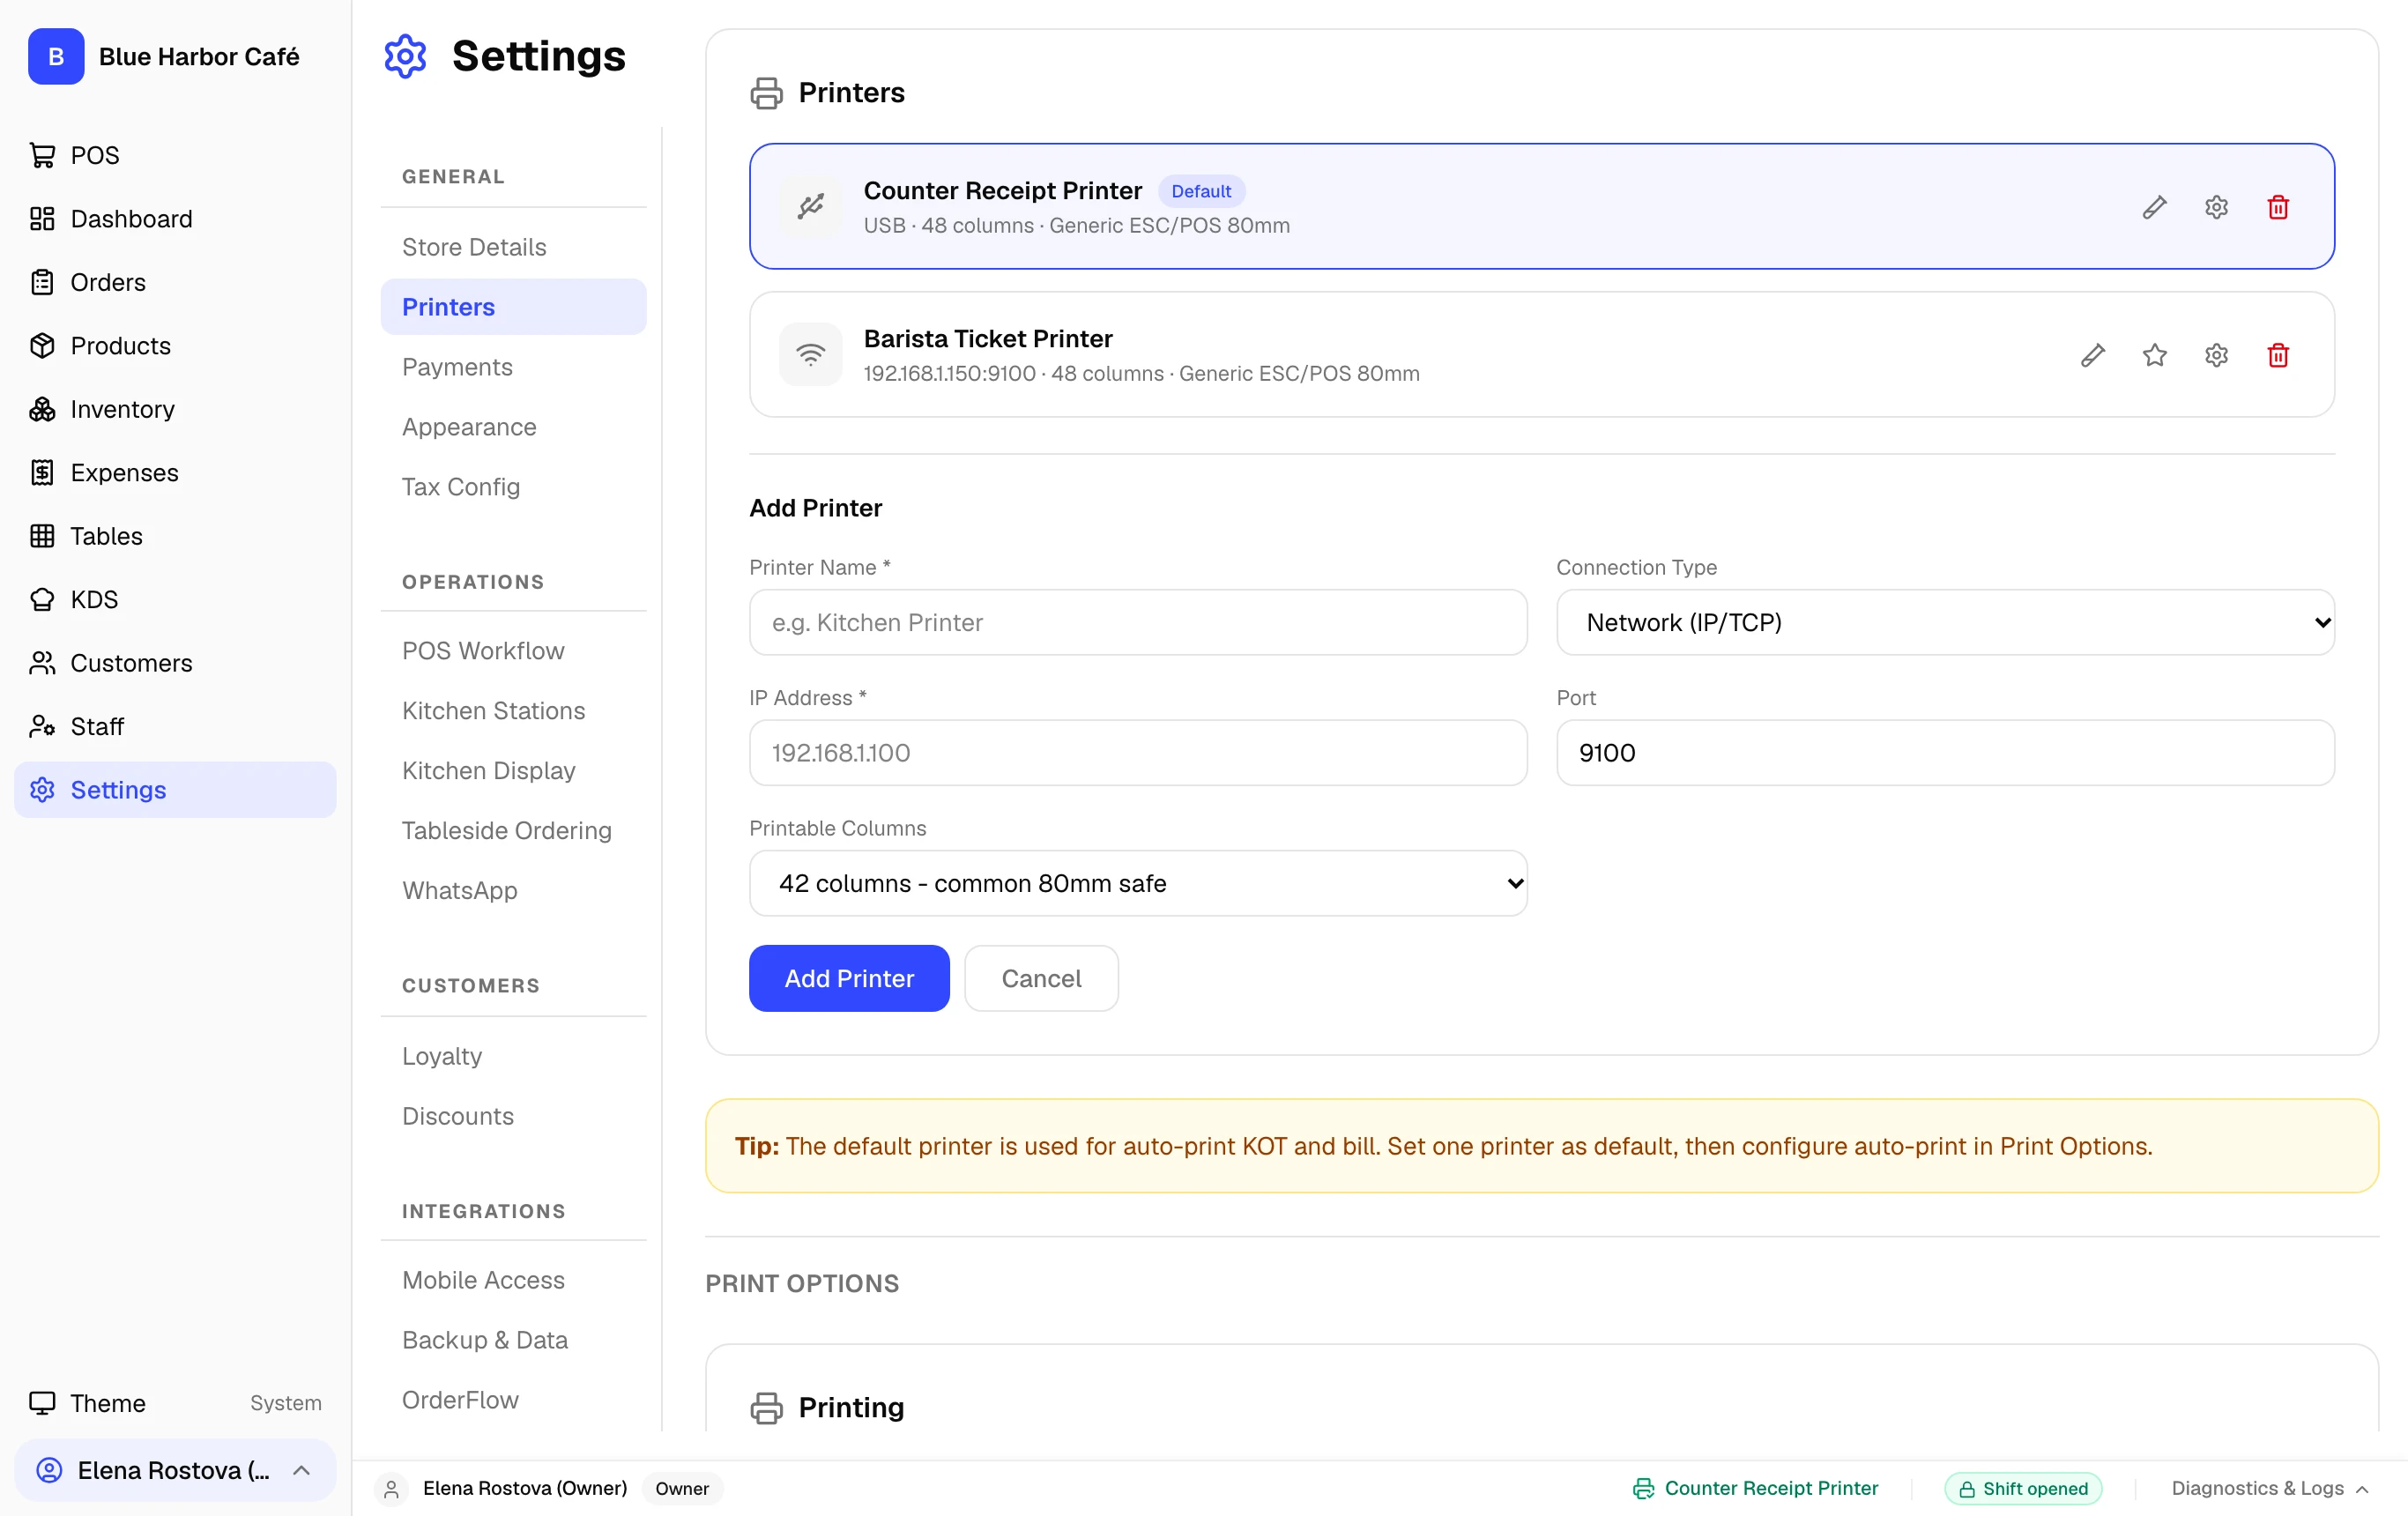
Assign Static DHCP Lease
In your router administration settings, bind your printer MAC address to a fixed IP so your router never changes the printer IP after a power outage.